Planning a Philippines trip, yaar? Great news—Indian passport holders get visa-free entry for 14 days. No embassy queues, no fees. Just book your ticket and go.
But visa-free doesn’t mean carefree. Make sure your passport’s valid, have return or onward tickets, and hotel information handy for a smooth immigration process.
This guide covers what to prepare, what to expect upon arrival, and how to stay connected with a Philippines eSIM.
We’ll also dive into the fun stuff—Manila’s chaos, Cebu’s thrills, and Palawan’s dreamy beaches—plus tips on timing, money, and island-hopping like a pro.
Pack smart, activate your eSIM, and you're off!
Do Indians Need Visas for the Philippines?
Good news: Indian passport holders don’t need a visa to enter the Philippines for up to 14 days.
It’s one of the easiest Southeast Asian countries for Indians to explore on a whim.
And if you hold a valid visa or residence permit for the US, UK, Canada, Australia, Japan, Singapore, or the Schengen zone, you get up to 30 days visa-free.
But don’t just show up unprepared. You’ll need a return ticket, a valid passport, and proof of sufficient funds to support your stay.
Entry Requirements and Required Documents
Passport Validity
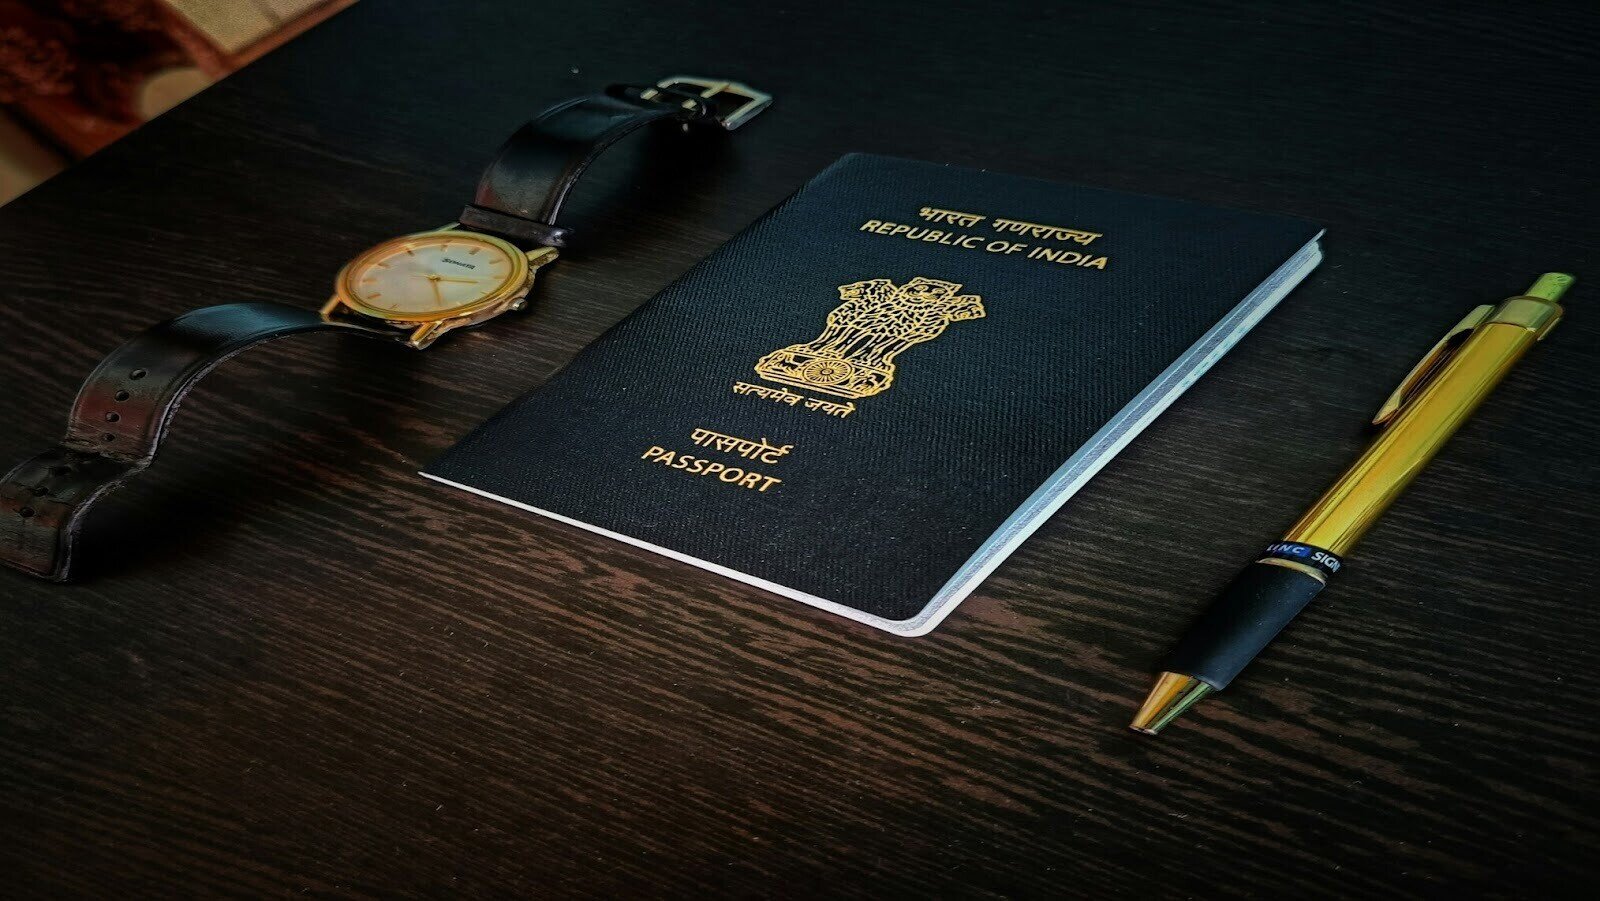
Source: Unsplash
Ensure your passport is valid for at least six months after you depart from the Philippines.
Even if you're only staying two weeks, five months of validity isn’t enough. Airlines check this before boarding—they get fined for flying passengers who don’t meet entry rules.
It’s a common reason people get stopped at check-in, so check early and renew in advance to avoid last-minute stress and extra costs.
Proof of Onward Travel
Immigration wants to ensure that you're leaving the Philippines within your visa-free period, which is either 14 days for standard entry or 30 days if you hold an AJACSSUK visa.
A return ticket to India works perfectly, but so does a confirmed flight to your next destination if you're on a multi-country adventure.
The keyword here is "confirmed," which means a paid ticket with a booking reference, not a screenshot of flight prices you're considering.
Some travellers try using onward ticket rental services or booking refundable flights that they cancel later. While these tactics sometimes work, they're risky because immigration officers can verify bookings in real-time.
Most airlines let you change dates for a fee, which beats getting denied entry entirely.
Financial Requirements
The Philippines doesn’t list a fixed amount, but immigration may ask you to prove you’ve got enough funds.
Aim for around $50–$100 a day, though many travellers manage with less. Show cash, credit cards, or bank statements—just something to prove you won’t run out of money.
Bring a mix of payment methods. Cash (in pesos or USD) is useful outside tourist zones, and a printed credit card statement can help at immigration. ATMs work for withdrawals, but won’t cut it for proof.
Health Declaration
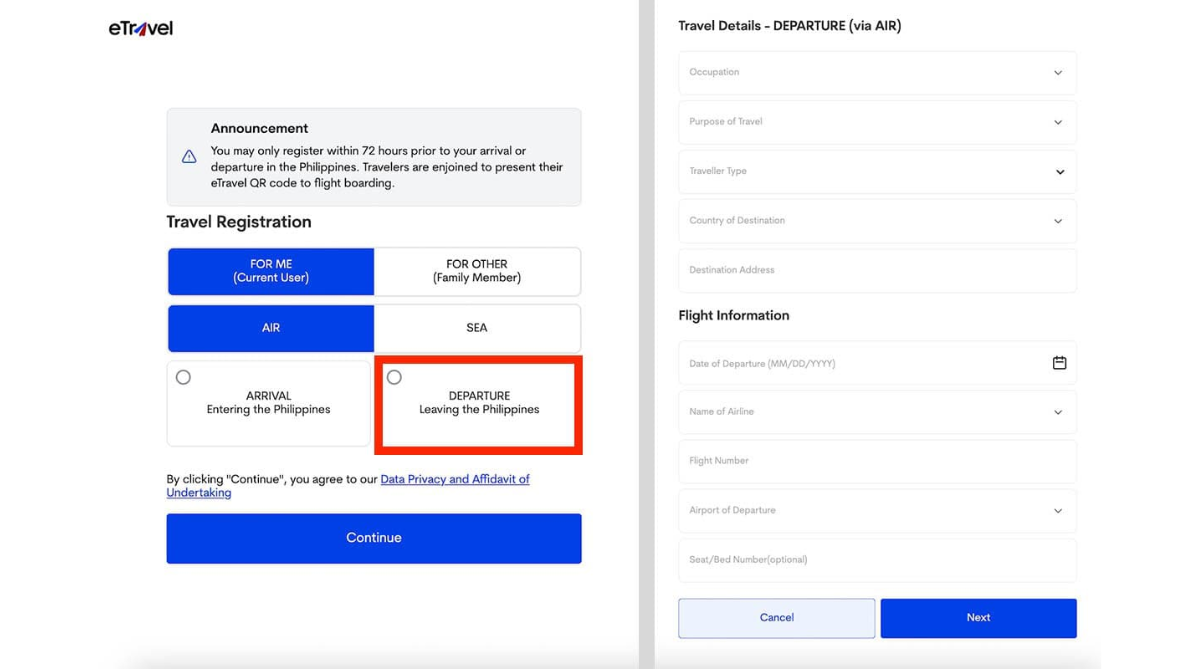
Before flying, you’ll need to complete the eTravel health declaration online. It asks about your travel history, COVID-19 status, and health, and then provides you with a QR code for faster entry at immigration.
Register within 72 hours of departure—don’t leave it to the last minute, as the site can lag. The same QR code is valid throughout your trip, but you’ll need a fresh one when leaving the Philippines.
Take a screenshot and print a copy, just in case tech lets you down.
Arrival Card
The arrival card requests basic information. This includes your passport number, flight details, and your first accommodation address in the Philippines.
You’ll fill it out either on the plane or at immigration. It’s simple, but write clearly so officers can read it.
Bring a pen (trust me), and have your hotel address handy to avoid fumbling through bookings in the queue. Just list your first stop if you’re staying in multiple places.
Duration of Stay
Visa-free entry gives you 14 days in the Philippines—short, but enough for 2–3 major spots if you plan well. Think beaches, cities, and mountains all in one trip.
This visa-free stay is neither extendable nor changeable.
If you want more time and don’t have an AJACSSUK visa, apply for a regular tourist visa before flying.
Ports of Entry
Source: Pexels
You can enter the Philippines through several international airports, with Ninoy Aquino International Airport in Manila being the primary gateway.
Most flights from India land here, connecting through hubs such as Singapore, Kuala Lumpur, or Bangkok, as there are few direct flights between India and the Philippines.
Manila's airport has multiple terminals, and navigating between them can be confusing if you have connecting domestic flights; therefore, leave sufficient buffer time.
Other international entry points include:
- Mactan-Cebu International Airport
- Clark International Airport, and
- Davao International Airport.
Flying into Cebu makes sense if you're heading straight to the Visayas region for island hopping, while Clark serves travellers exploring northern Luzon.
The visa-free entry rules apply regardless of which airport you use, so choose your entry point based on your itinerary rather than immigration concerns.
Smaller airports generally have shorter queues, which makes your arrival smoother than landing in Manila during peak season.
Safety and Security
The Philippines is generally safe for Indian tourists, but, like any travel destination, it is essential to stay alert and use common sense.
Petty theft often occurs in crowded areas, so keep your valuables secure and avoid flaunting expensive jewellery or electronics unnecessarily.
Certain regions, particularly parts of Mindanao, have travel advisories due to security concerns; however, most tourist destinations are generally safe if you stay alert and follow local advice.
You can save these critical numbers in your phone before you travel:
- Philippine National Police (911)
- Bureau of Fire Protection (116)
- Philippine Red Cross (143).
The Indian Embassy in Manila can be reached at (02) 8843-0101 to (02) 8843-0102, and they provide consular services for Indian citizens in emergencies.
Additionally, travel insurance that covers natural disasters and trip cancellations is a worthwhile investment, as rescheduling flights during typhoon season can be expensive.
What to Expect at Immigration
Philippines immigration is fairly quick by regional standards.
Off-peak arrivals can clear in ~20 minutes, while peak times with multiple flights may take an hour or more.
Officers are courteous and ask simple questions about your purpose, stay, and plans for exit.
Have your passport, onward ticket, and hotel details ready before the counter to avoid delays. Your passport gets stamped with a 30-day entry, then you collect bags and head out.
Occasionally, they’ll ask about your work or why you chose the Philippines. Just answer confidently and you’ll be on your way.
What Indians Can Do in the Philippines
Manila's Culture
Source: Pexels
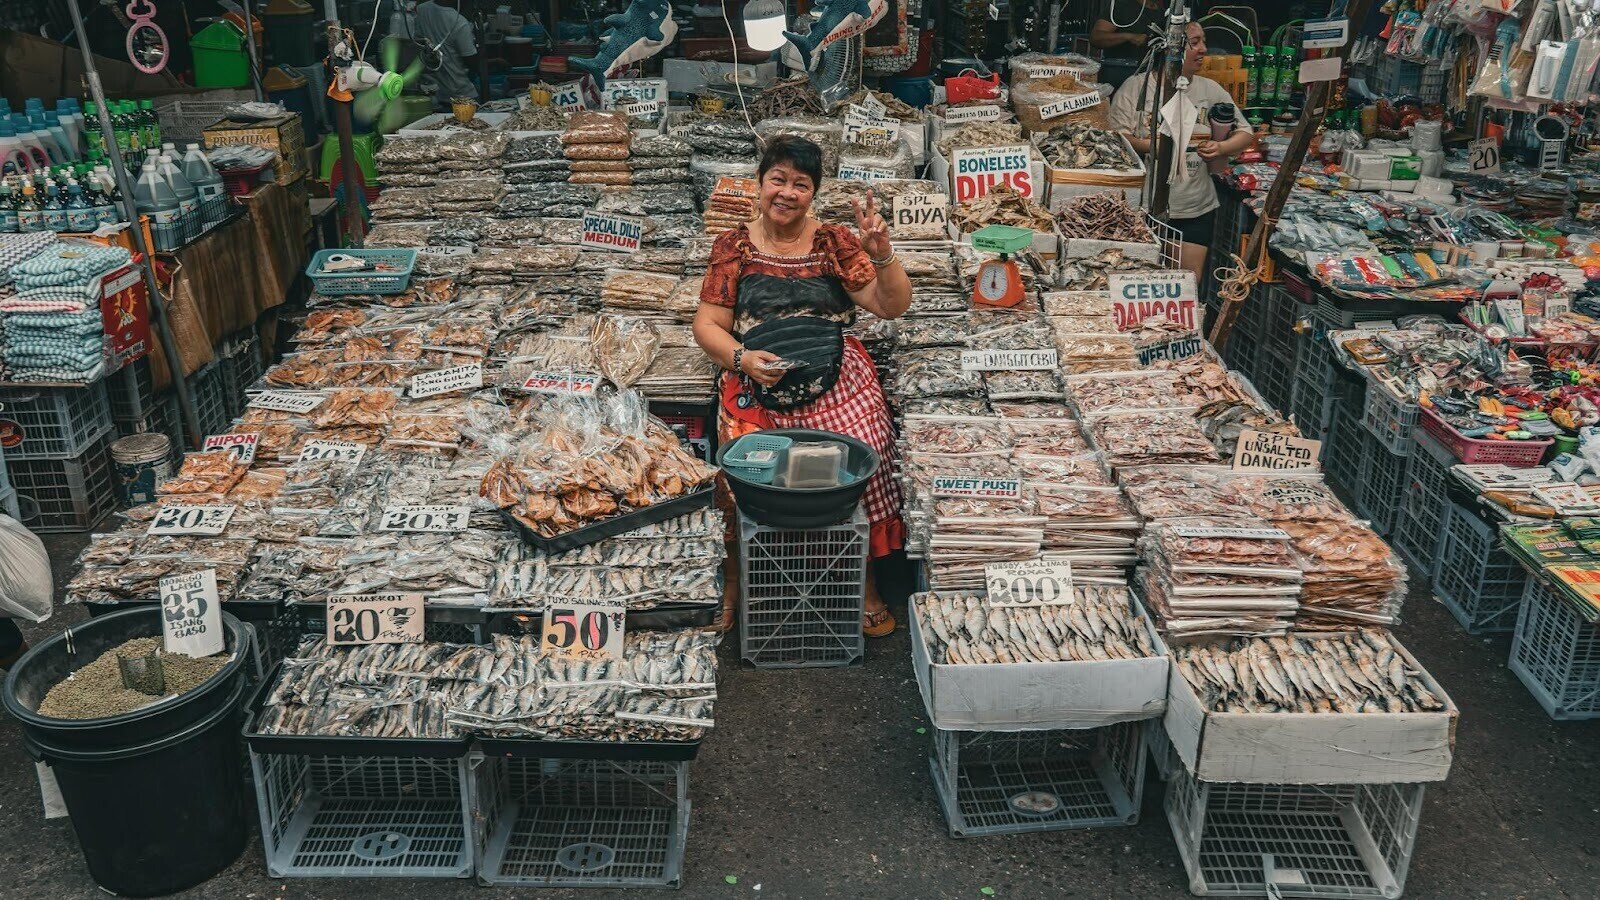
Manila greets you with chaos and charm—gleaming towers beside colonial churches, endless traffic, and serious energy.
Wander Intramuros for a dose of history, then dive into the city’s food scene. From street eats to upscale fusion, there's plenty to try.
Feeling brave? Sample balut. Prefer comfort? Go for adobo or sinigang—Filipino classics done right.
- Location/Address: Manila, Metro Manila (Intramuros, Makati, Binondo districts)
- Price Range: Street food ₹50-200; restaurant meals ₹500-2,000; jeepney rides ₹20-40
- Best For: History buffs, food enthusiasts and urban explorers.
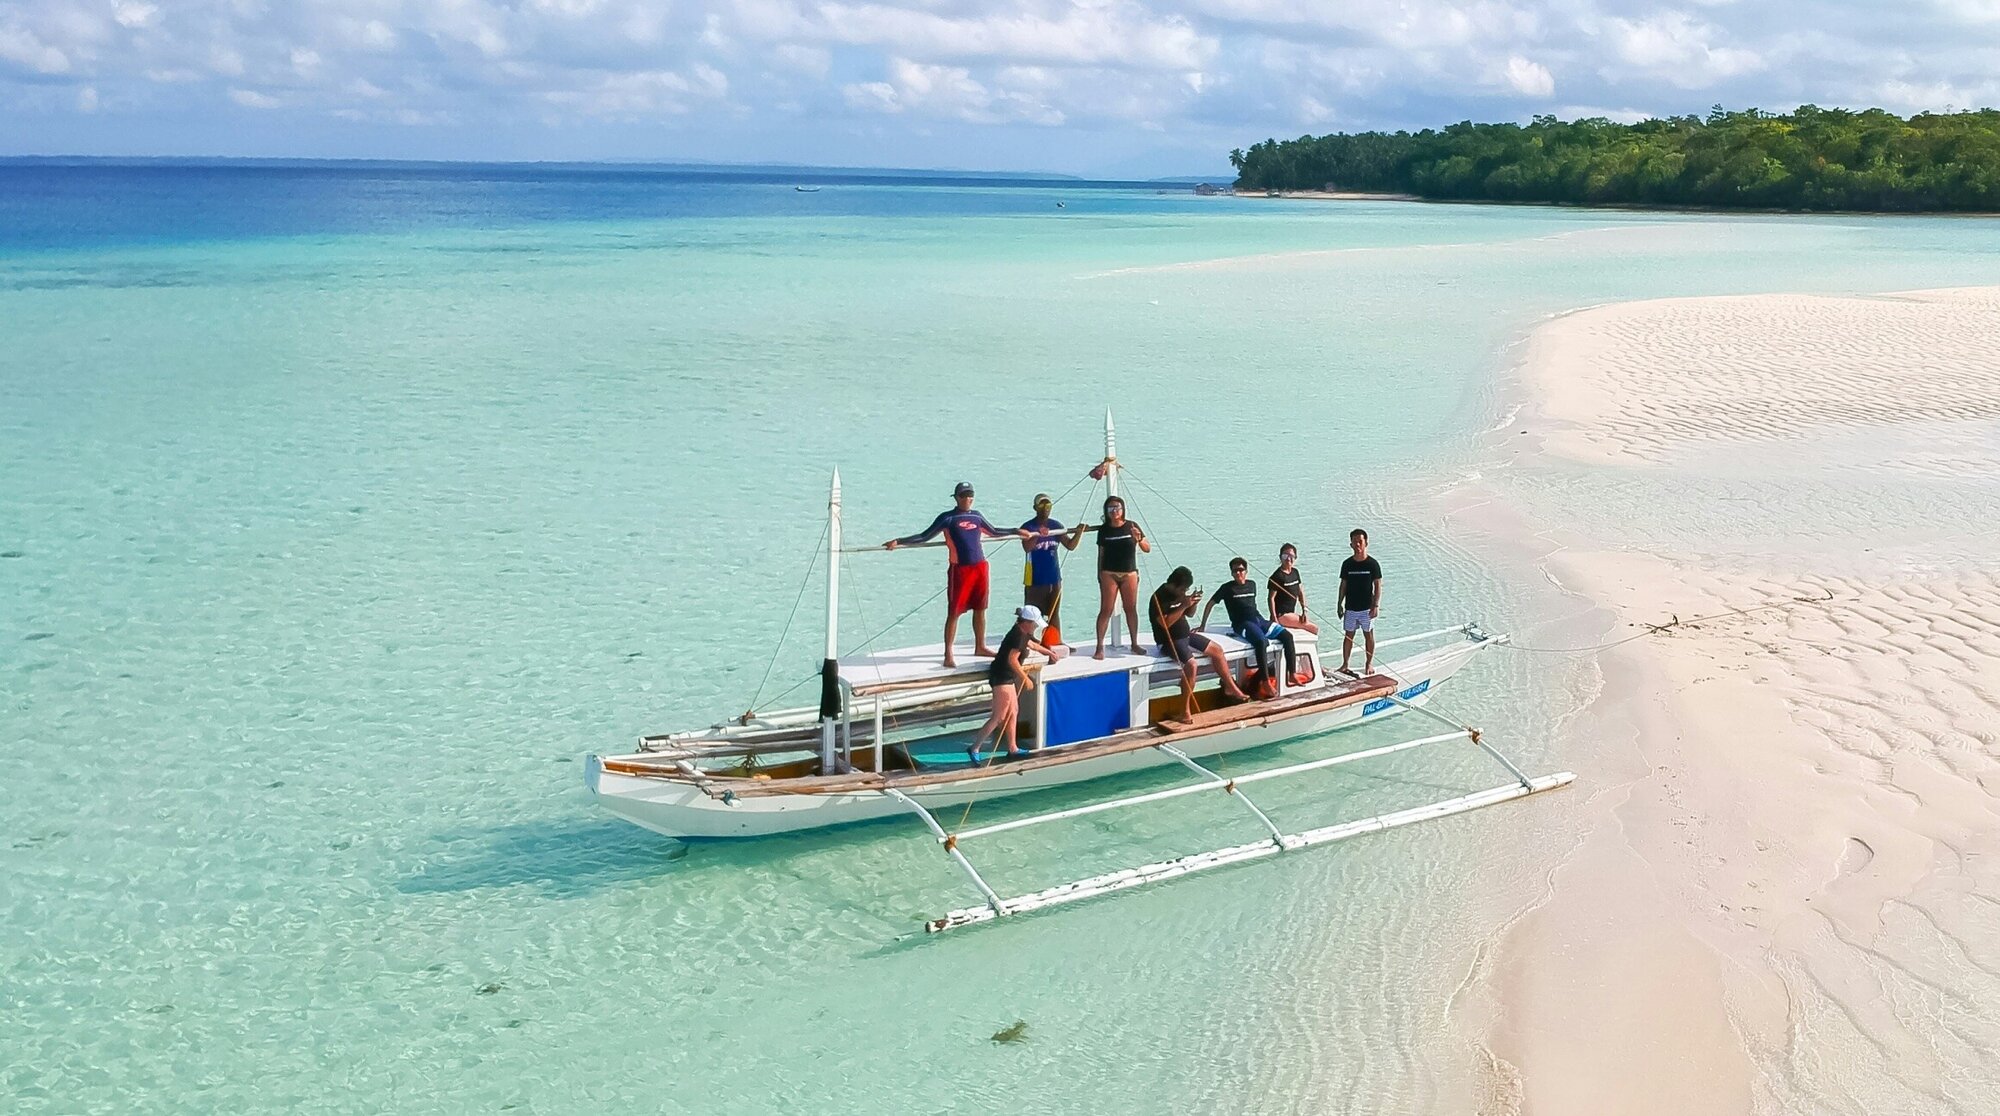
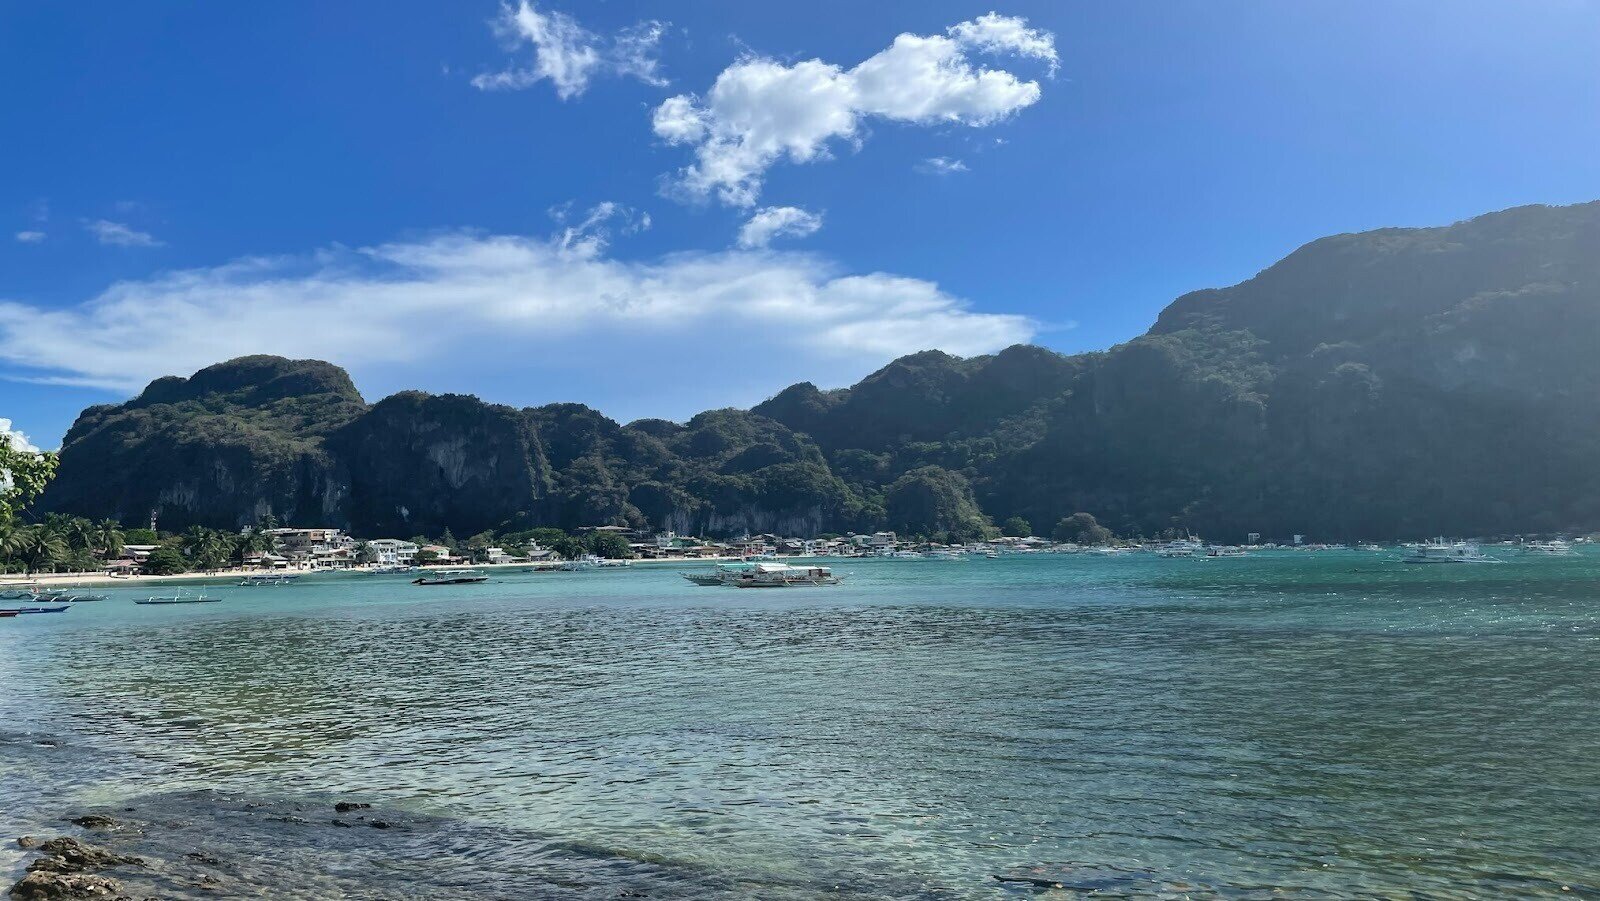
Island Adventures in Palawan
Source: Unsplash
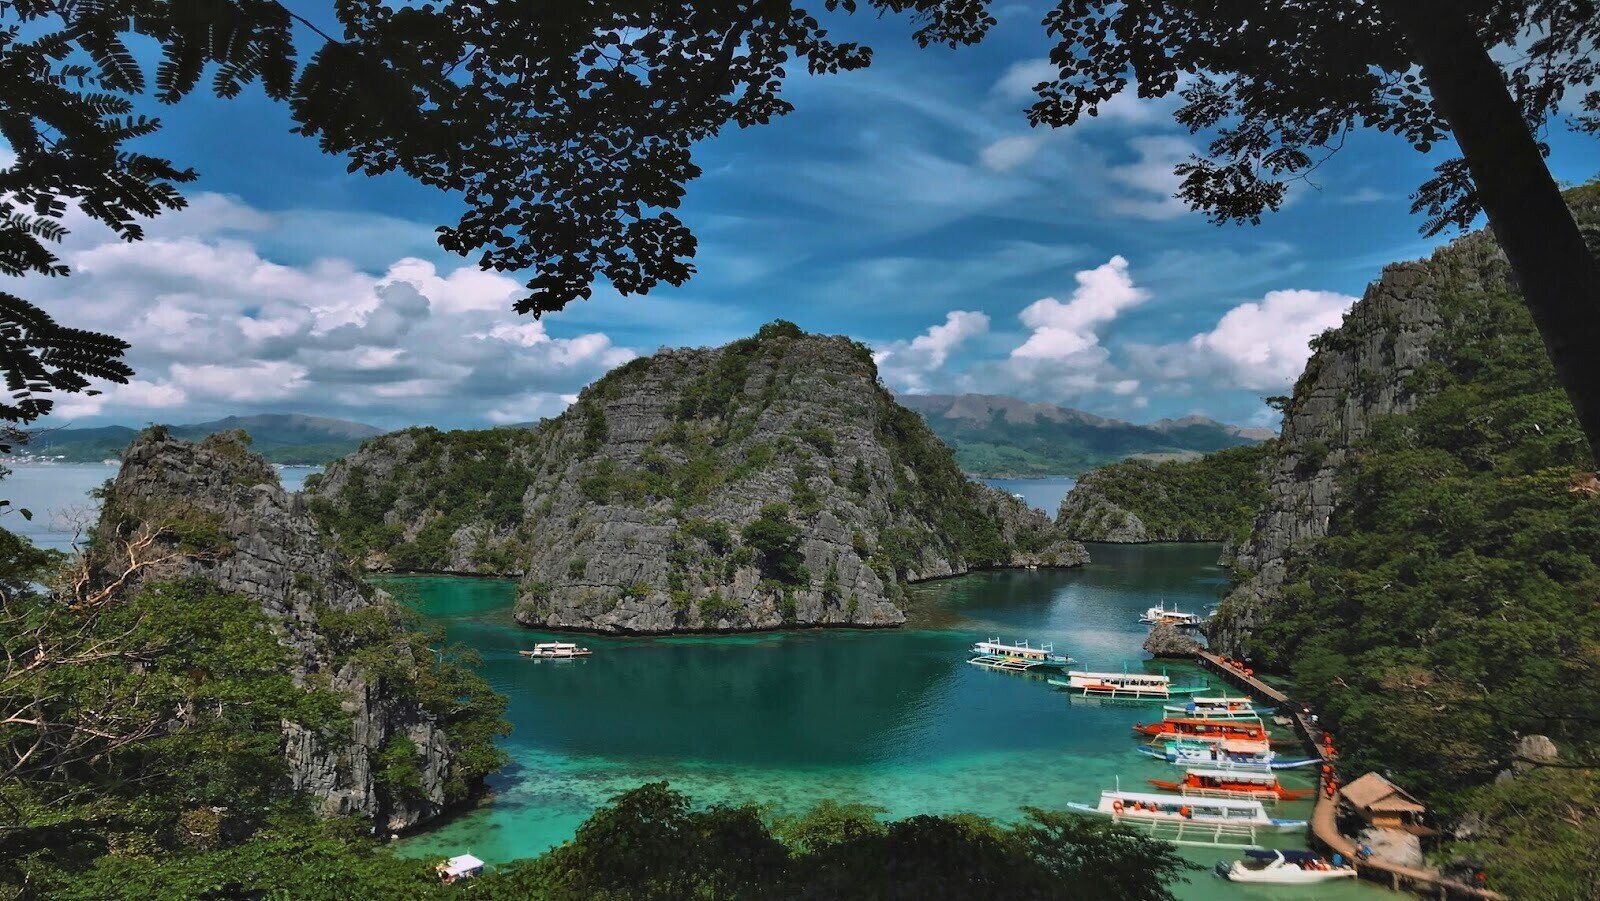
Palawan is always on the world’s best islands list. And for good reason. El Nido’s dramatic limestone cliffs and turquoise waters look unreal (but they’re genuine).
Island-hop to hidden lagoons, secret beaches, and snorkel spots with sea turtles and tropical fish. In Coron, certified divers can now explore World War II shipwrecks, while mountain enthusiasts can hike Mount Tapyas.
Don’t rush it—Palawan deserves a few slow, magical days.
- Location/Address: Palawan Province (El Nido, Puerto Princesa, Coron towns)
- Price Range: Island tours ₹2,000-5,000; accommodation ₹1,500-8,000; diving ₹3,000-6,000
- Best For: Divers, adventure seekers, and nature photographers who want world-class island experiences
Cultural Immersion in Bohol
Source: Unsplash
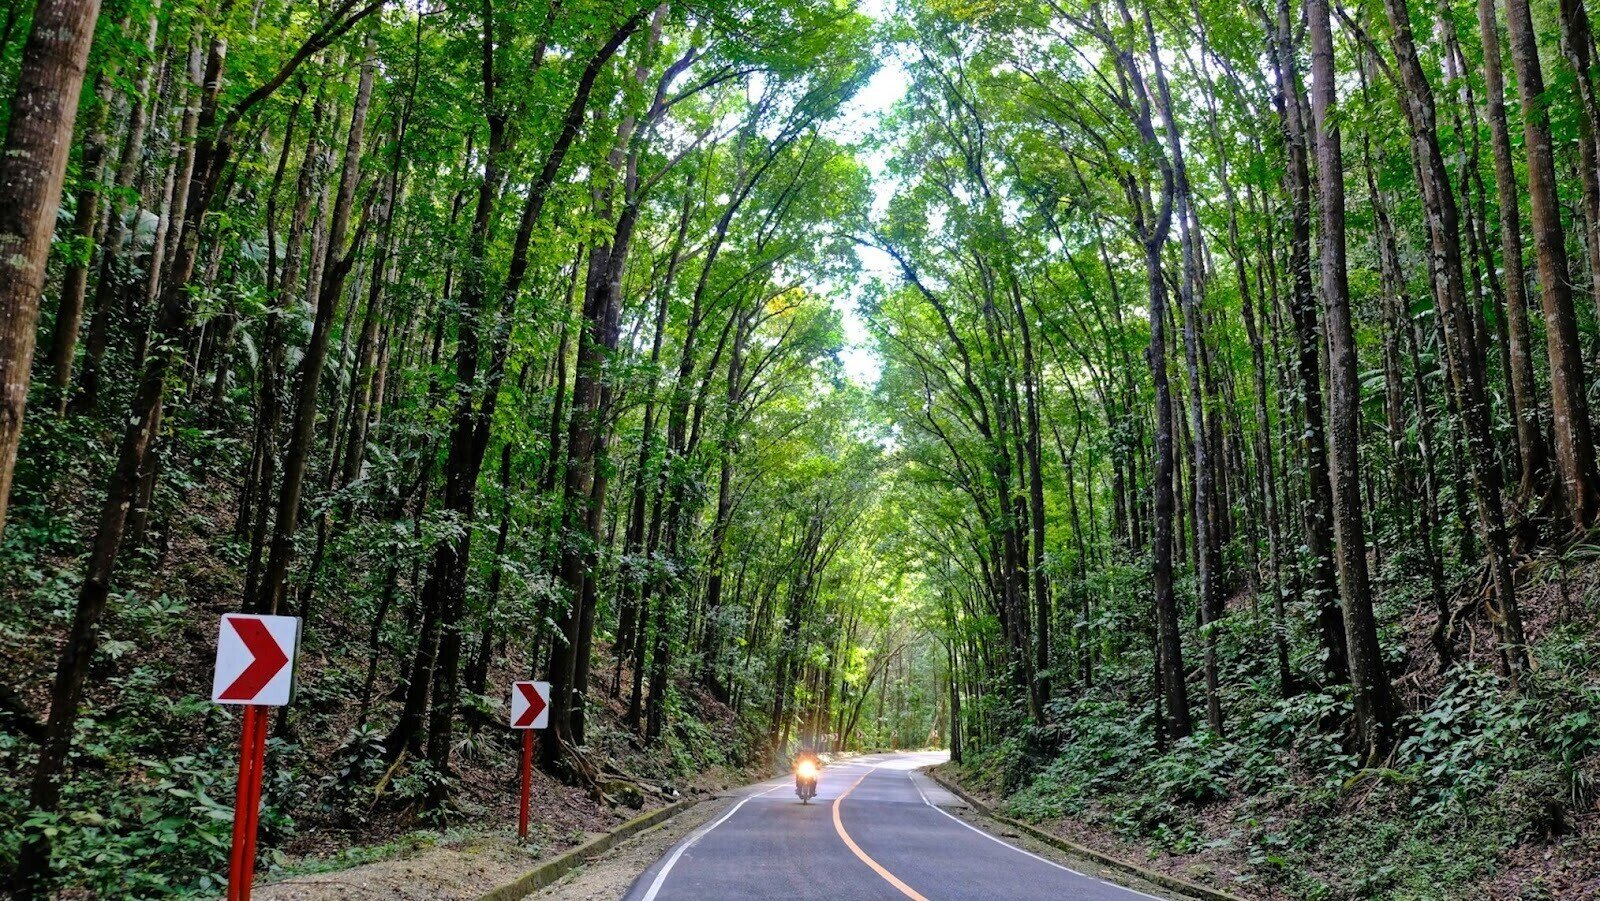
Bohol showcases the Philippines beyond its beaches.
The Chocolate Hills turn brown in the dry season, forming a surreal landscape of cone-shaped mounds.
You can also meet wide-eyed tarsiers in sanctuaries and learn about efforts to protect them.
Cruise down the Loboc River with a floating buffet and live traditional music, or hop over to Panglao Island for stunning beaches minus the Boracay crowds.
- Location/Address: Bohol Province (Carmen, Loboc, Corella municipalities)
- Price Range: Chocolate Hills tour ₹1,500-3,000; tarsier sanctuary ₹150; river cruise ₹800-1,500
- Best For: Wildlife enthusiasts, culture lovers and families who want unique natural attractions
Beach Life in Boracay
Source: Unsplash
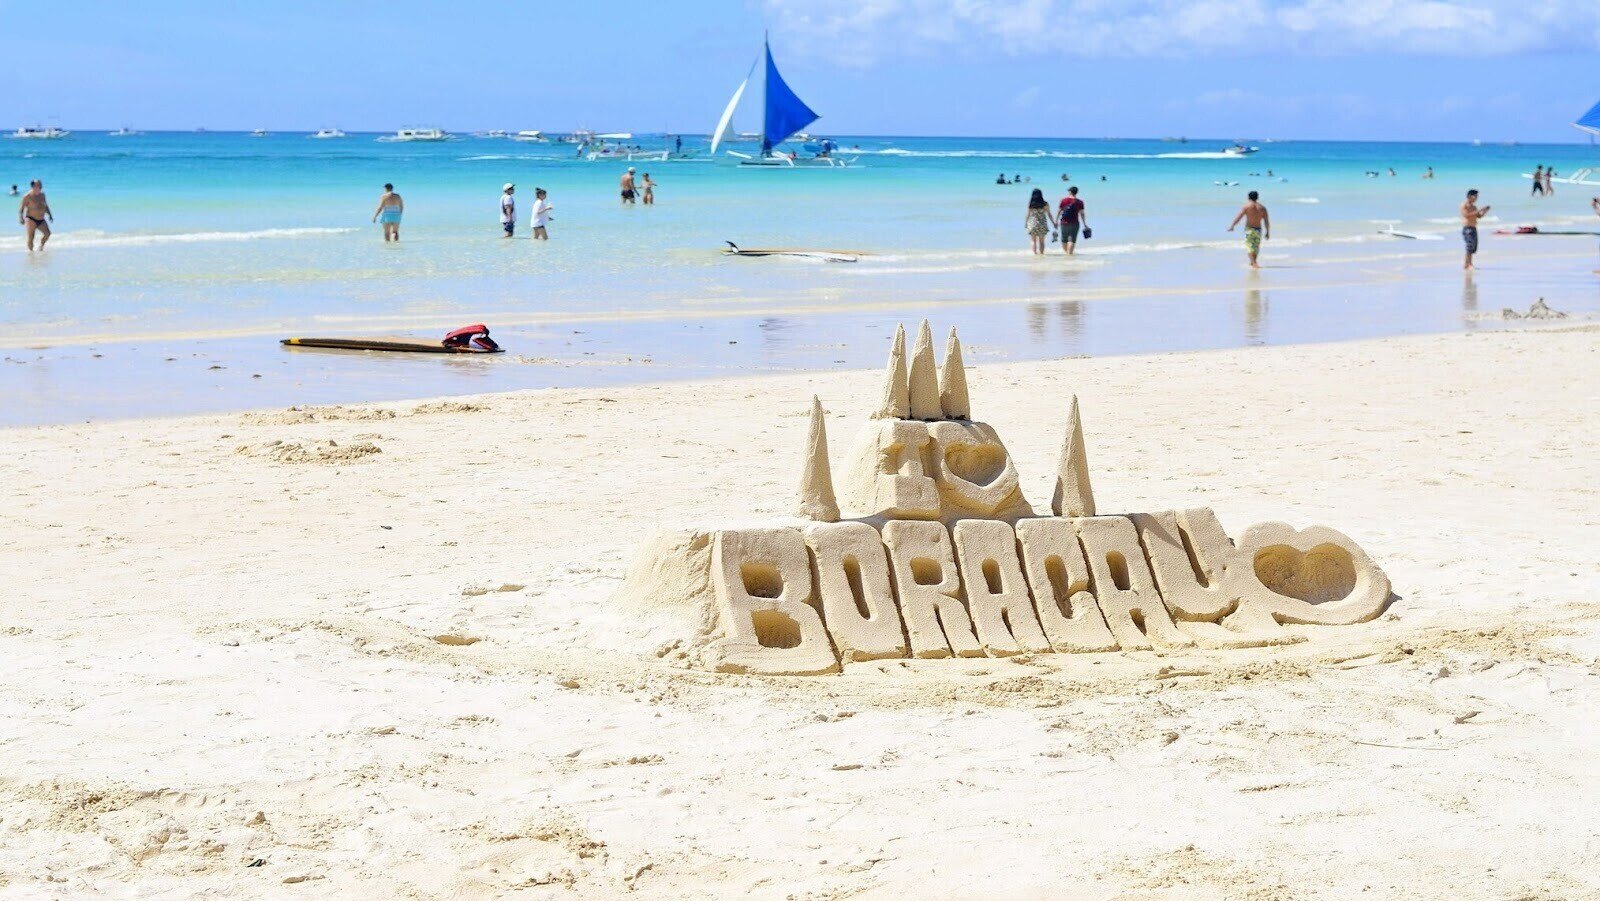
Boracay's White Beach is four kilometres of powdery sand so fine it squeaks underfoot. After a major cleanup, it's now a more sustainable version of its party past.
You'll still find mango vendors, sunset cruises, and tons of water sports—from kitesurfing to helmet diving.
And those sunsets? Pure magic, with the sky lighting up in fiery pinks and oranges over calm, crystal-clear waters.
- Location/Address: Boracay Island, Aklan Province (White Beach, Bulabog Beach areas)
- Price Range: Beach activities ₹1,000-4,000; accommodation ₹2,000-12,000; meals ₹300-1,500
- Best For: Beach lovers, water sports enthusiasts and party-goers who like the tropical paradise feel
The Cordillera Mountains
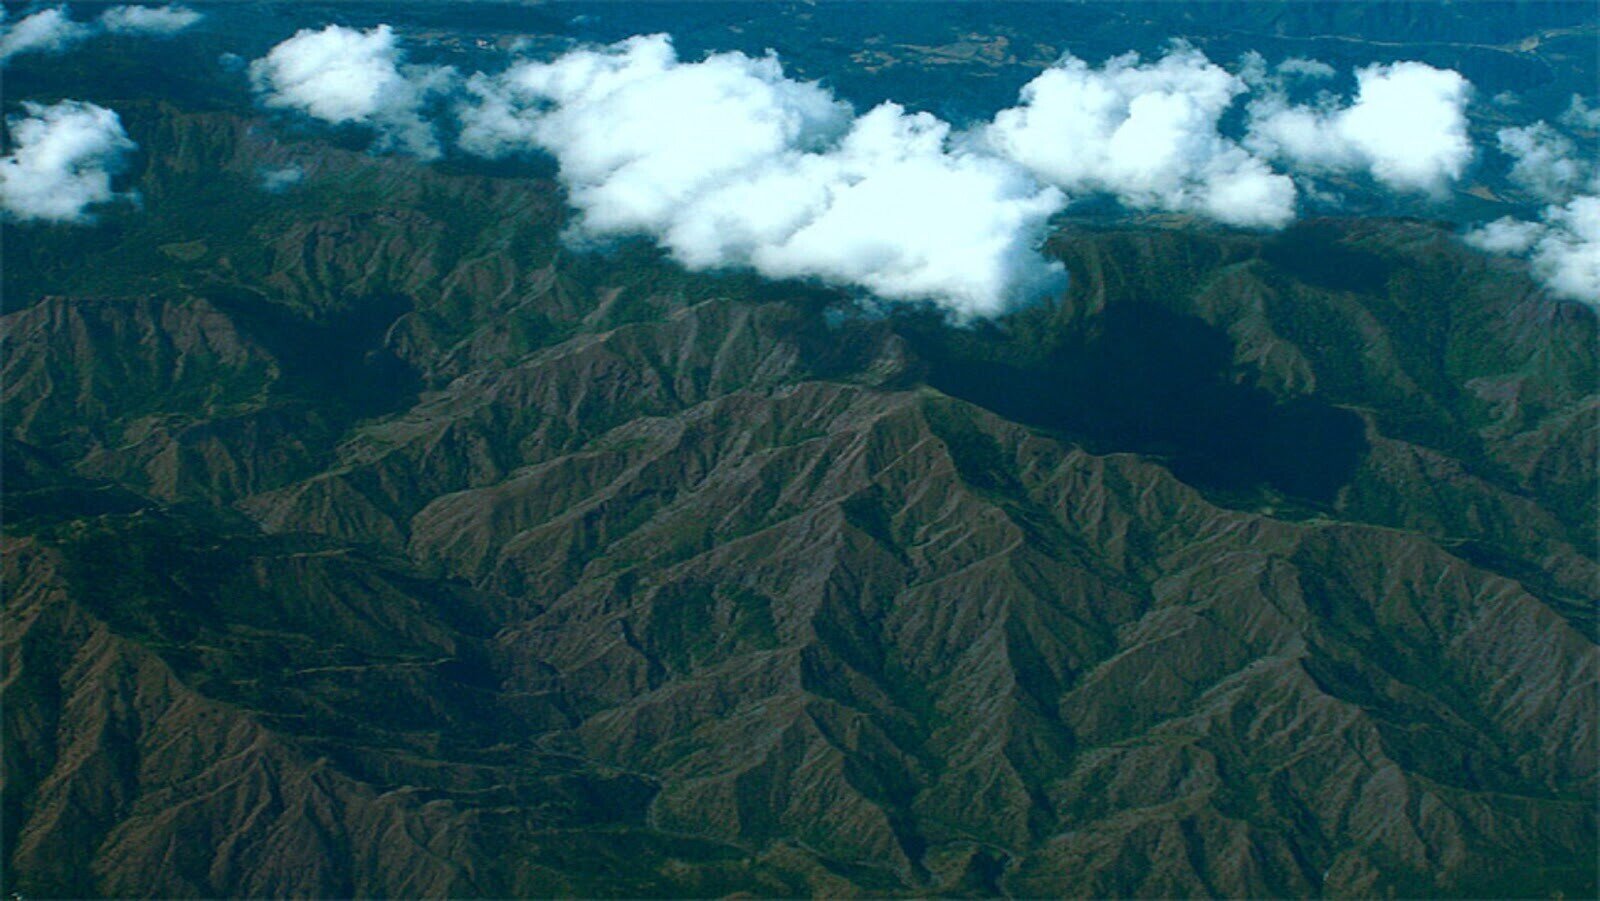
Source: Unsplash
The Cordillera region in northern Luzon offers a totally different side of the Philippines.
In Banaue, 2,000-year-old rice terraces carved into the mountains still function as farms today, maintained by local communities.
Sagada brings cool mountain air, hanging coffins, and caves you can explore with guides. Think pine trees instead of palm trees, and pack sweaters, not swimsuits.
- Location/Address: Cordillera Administrative Region (Banaue, Batad, Sagada towns)
- Price Range: Homestays ₹800-2,500; trekking guides ₹1,200-2,000; transportation ₹500-1,500
- Best For: Hikers, cultural enthusiasts, and photographers who want authentic mountain experiences
Travel Tips for the Philippines
Internet and Mobile Connectivity
Getting a local SIM card should be your first priority after clearing immigration. Philippine mobile networks offer excellent coverage in densely populated areas.
If you want to get a local SIM card at the airport, you’ll have to deal with long queues. Globe and Smart are the primary carriers with tourist packages, but there's a much easier option: an eSIM.
An Airalo Philippine eSIM keeps you connected the second you land. You can buy and set up your Philippine eSIM before you even leave home.
That way, you'll have instant access to maps, translation apps, and other services.
While WiFi is everywhere in hotels and restaurants, having your own reliable data means you're never stuck without internet when you need it most.
Best Time to Visit
Source: Unsplash
The dry season (November–April) is best for exploring the Philippines, with December–February offering the nicest weather.
March and April can get hot, but they're still great for beach time—just expect crowds and higher prices.
The rainy season (June–October) brings typhoons that can affect travel, although not all regions are affected at once.
Shoulder months like November or May offer a sweet spot of good weather and fewer crowds. And places like Siargao? They’re actually better during the rainy season for surfing.
Currency and Payments
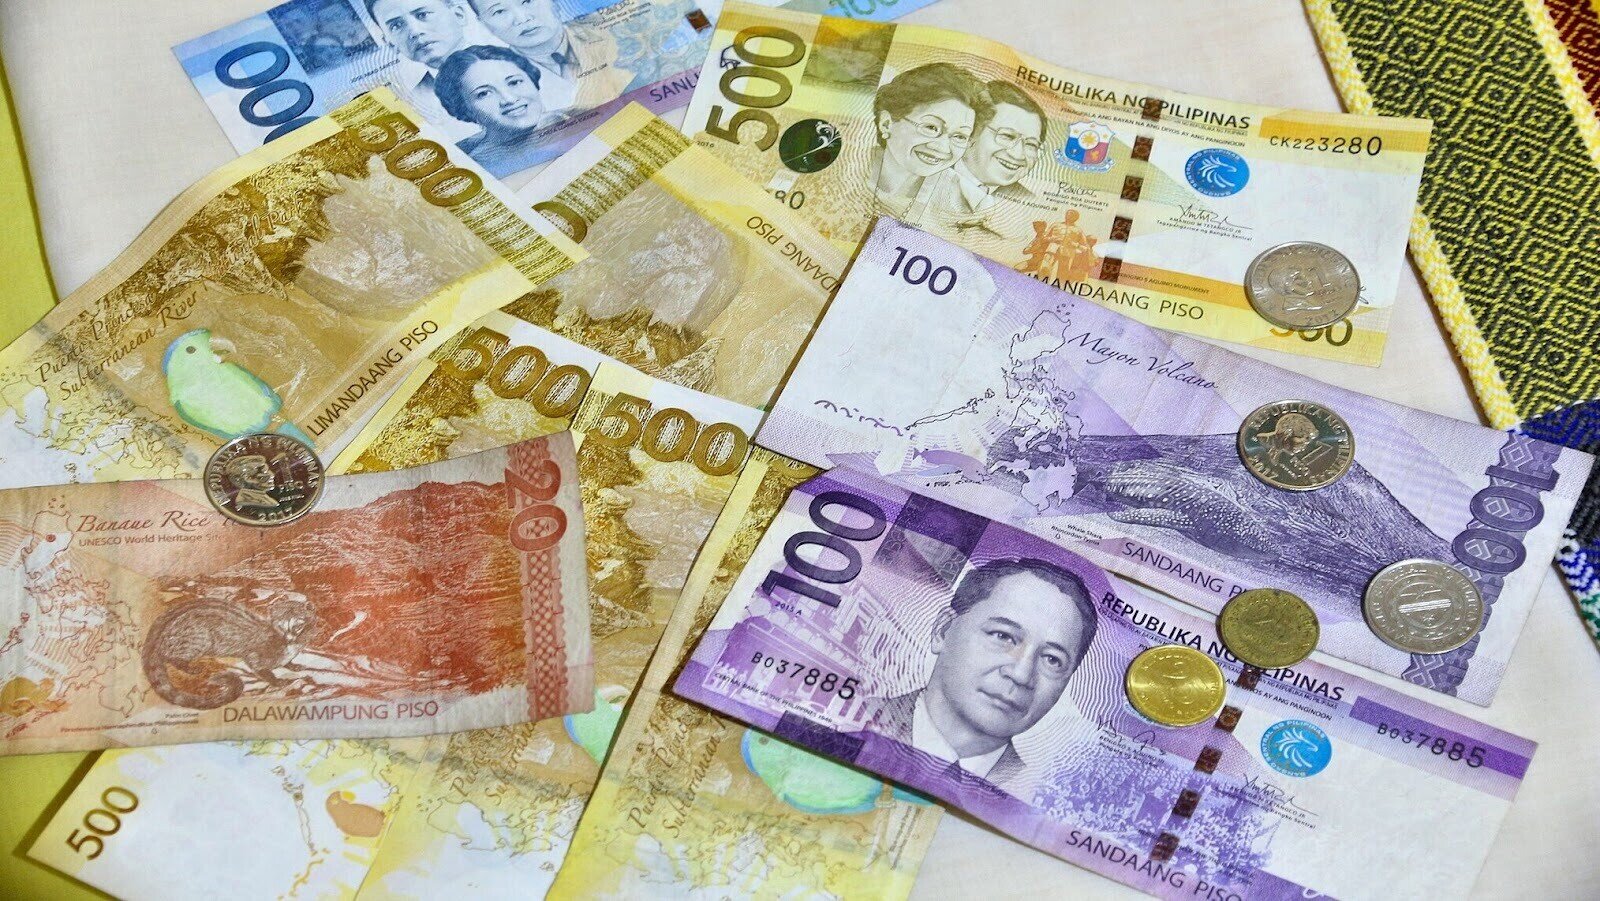
Source: Unsplash
The Philippine peso is the local currency, usually trading at 80–85 per US dollar. Airport exchange rates are poor, so swap just enough for basics and find better rates in the city.
Banks and money changers offer solid deals—hotels, not so much. Cash is essential outside tourist hotspots, so it's best to carry small denominations.
ATMs are common in cities but rare on islands, and fees can add up. Credit cards are accepted in malls and hotels, but bring a backup in case yours isn’t.
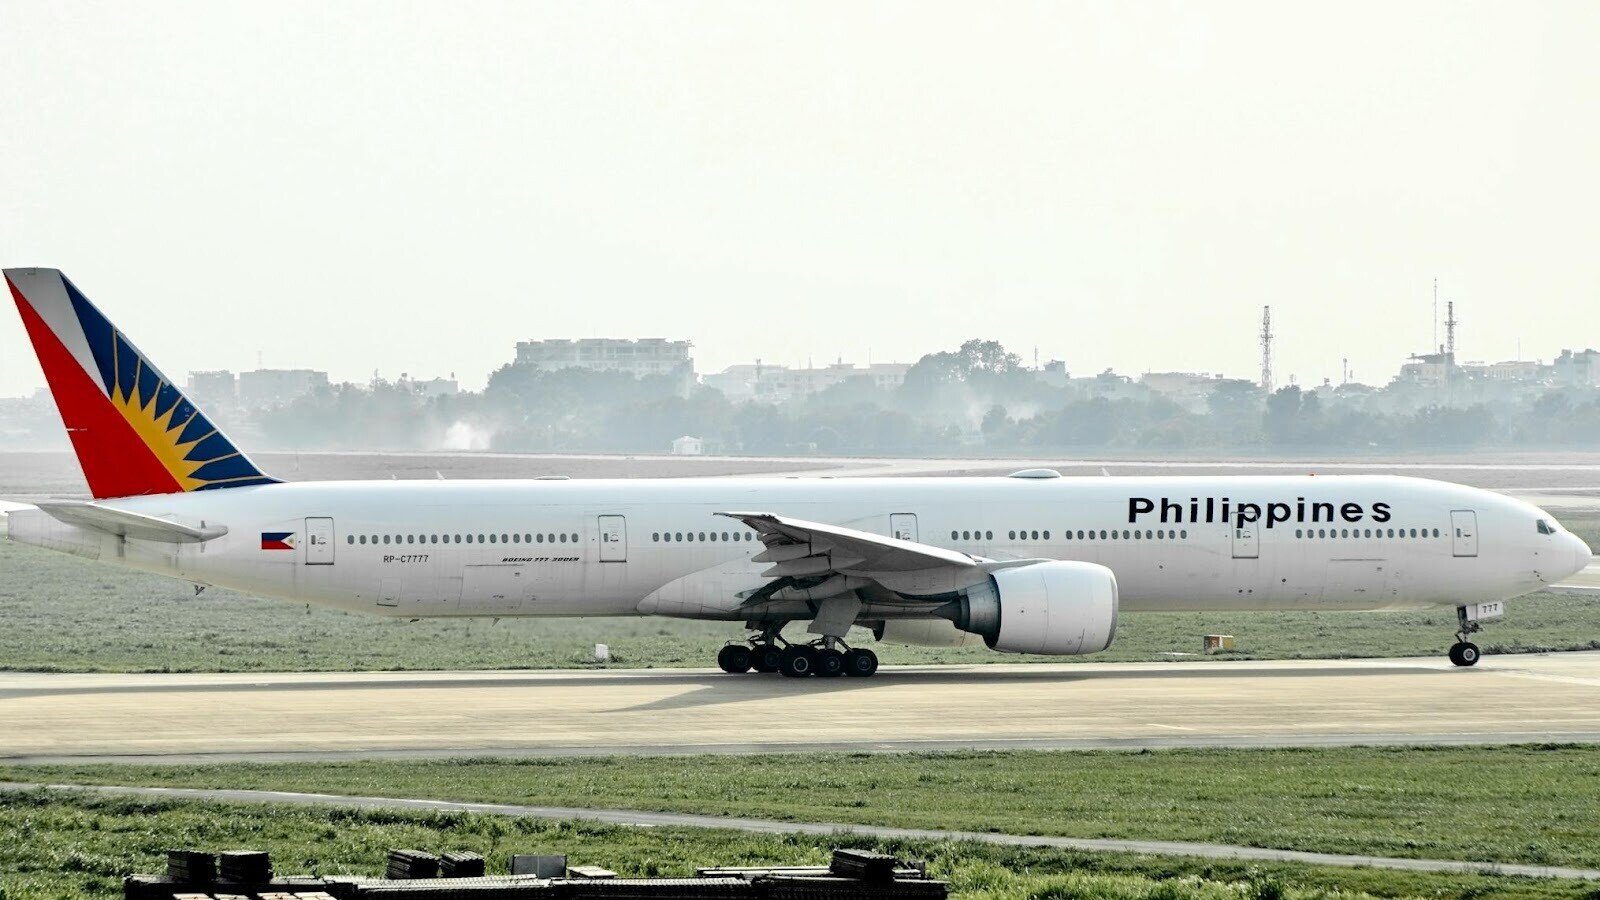
Transportation and Getting Around
Choose flights or ferries based on budget and time.
Domestic flights are generally more affordable and faster than overnight ferries, but weather-related delays and cancellations are common.
Major carriers (Cebu Pacific, Philippine Airlines) connect key islands multiple times daily; booking direct is easy, and prices stay reasonable if you buy a few days ahead.
On the ground, use ride-hailing in cities, jeepneys for cheap communal rides, tricycles for short hops, and habal-habal (motorcycle taxis) where cars can’t go.
Routes on jeepneys aren’t clearly marked, so be aware of your stop. Always agree on fares before you start—meters are rare outside big cities.
Pack Your Bags, Skip the Paperwork with Airalo’s eSIMs
The Philippines makes it easy for Indian travellers with 14-day visa-free entry (or 30 days with certain foreign visas).
Get your documents sorted, skip the red tape, and focus on beaches, mountains, and island-hopping.
Once you land, reliable data is key for smooth navigation, easy bookings, no Wi‑Fi hunting. That’s where an eSIM shines.
Here’s why Airalo’s Philippines eSIM helps:
- Instant data from touchdown
- No SIM shop hunting or queueing
- Reliable maps and navigation
- Quick translations and on-the-fly bookings
- Less reliance on sketchy public Wi-Fi
- No surprise roaming bills
The Philippines is ready. Now, pick your first island and go.